

Conception

So here's the deal with the Mac vs. PC sketch we did. Like everything, it starts with an idea. We wanted to do a video about our new Hackintosh build we use for post production. So I wrote a first draft. Then, using the free online service WriterDuet.com, I was able to share it with Frank for collaboration. We could use google docs or some other doc sharing program, but we like WriterDuet since it's free and bare bones script creator is perfect for writing and collaborating on smaller sketches. There is a paid tier, with added features. Link in the description for those interested in creating scripts.
The important thing is the idea of collaboration. While I did write the initial script alone, when I got input from Frank and we riffed back and forth, we came up with a much more interesting sketch. The idea of the Hackintosh character being a love child of the Mac and PC came out of this.
On to the shoot.
Production
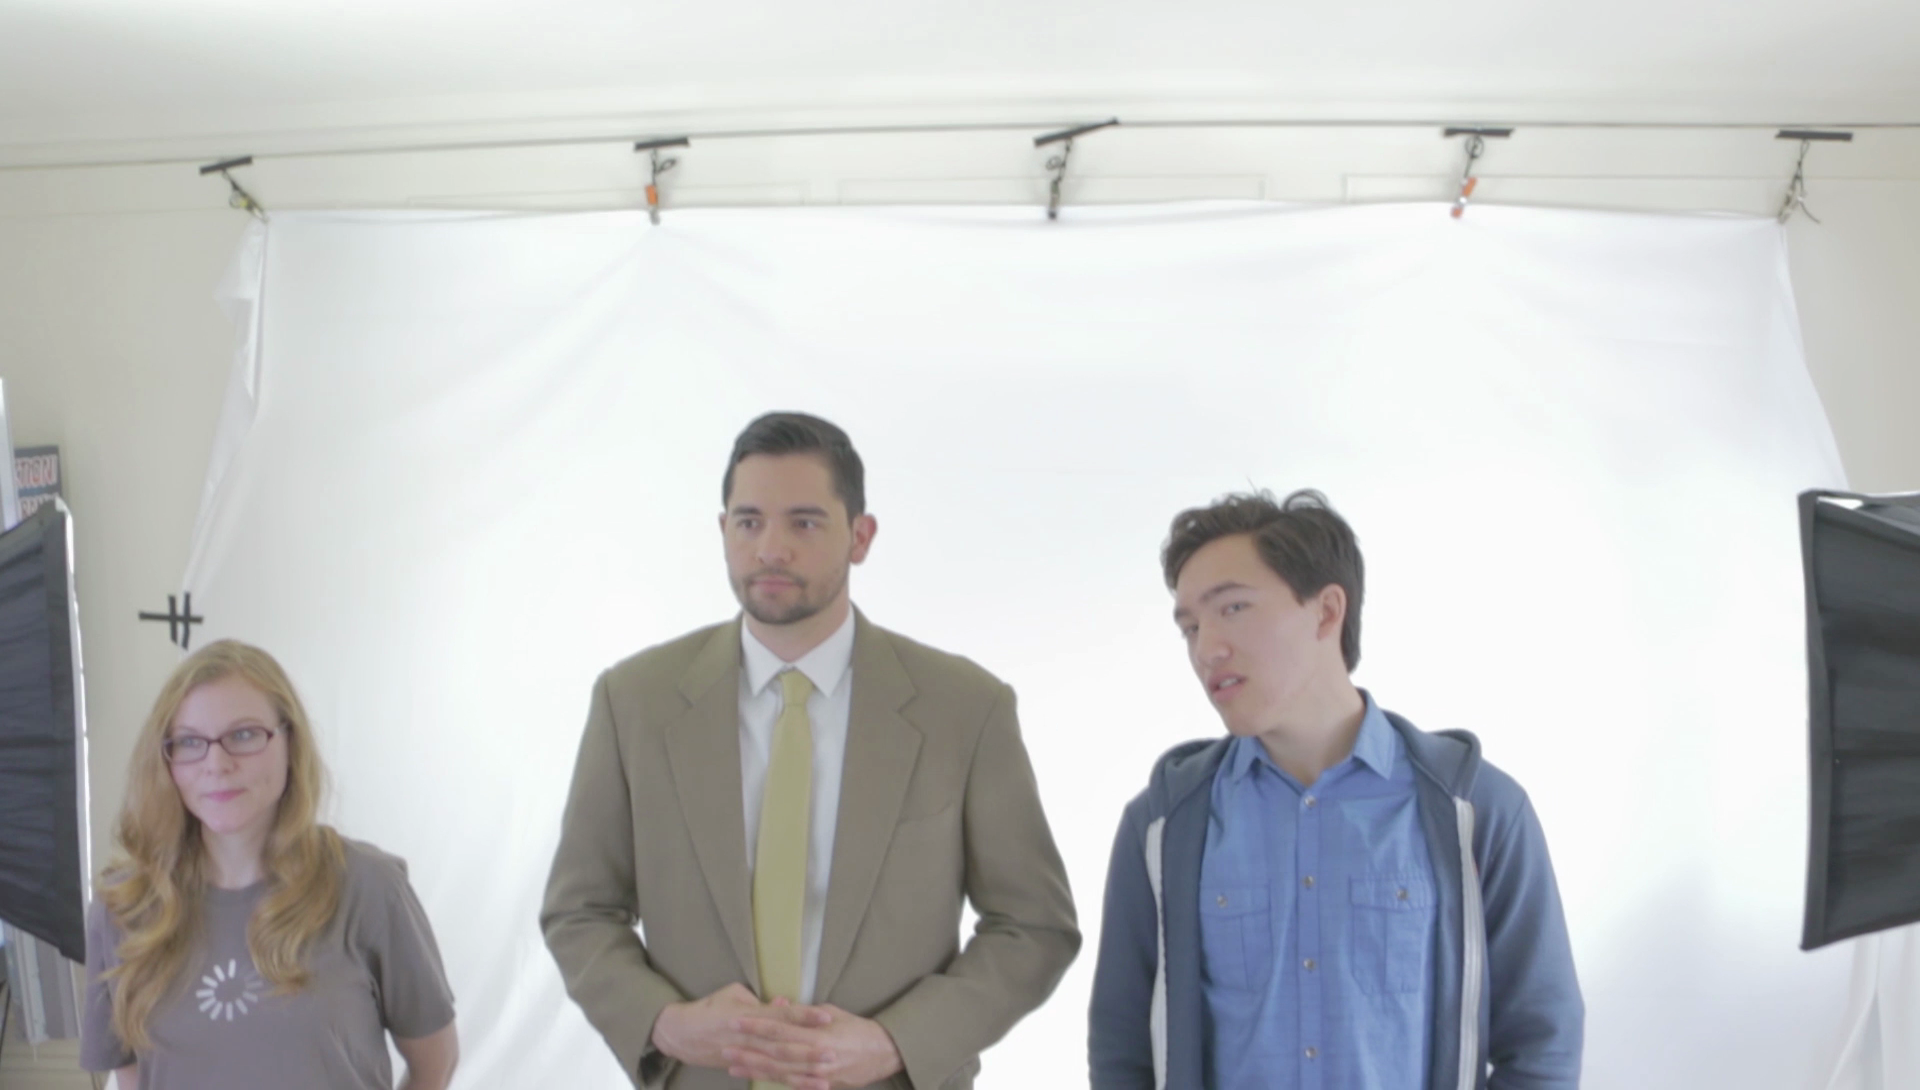
Now, the old mac ads were fairly simple as far as the set goes. Just film your actors on a white cyc and BAM, you're done. So we used our white cyc infinity wall and... wait a minute. Who the hell has access to a white infinity wall?!
So using my living room, a white sheet ordered from amazon and a little of Frank's ingenuity and talents as a former grip in the industry, we were able to construct an infinity wall equivalent. We practically had to use every light we owned but it worked like a charm.
Talent

We have lots of friends. And we have used friends in our sketches in the past. But there is a big difference between using friends and family in your sketches and using actors with training. Now, if you are learning your craft, by all means, grab whomever you can and shoot. But to take your ideas to the next level, then look around for some actors who have experience in front of the camera. You'd be surprised at the difference in performances you get. Trained actors are sometimes so good that you can't tell they are acting. So we opted to use some of our favorite talent for this sketch. Our beloved Courtney Schaffer as Hackintosh, James Aaron Oh as Mac and Mark Gonzales as PC. (Check below for links to their other work and websites.)
Gear
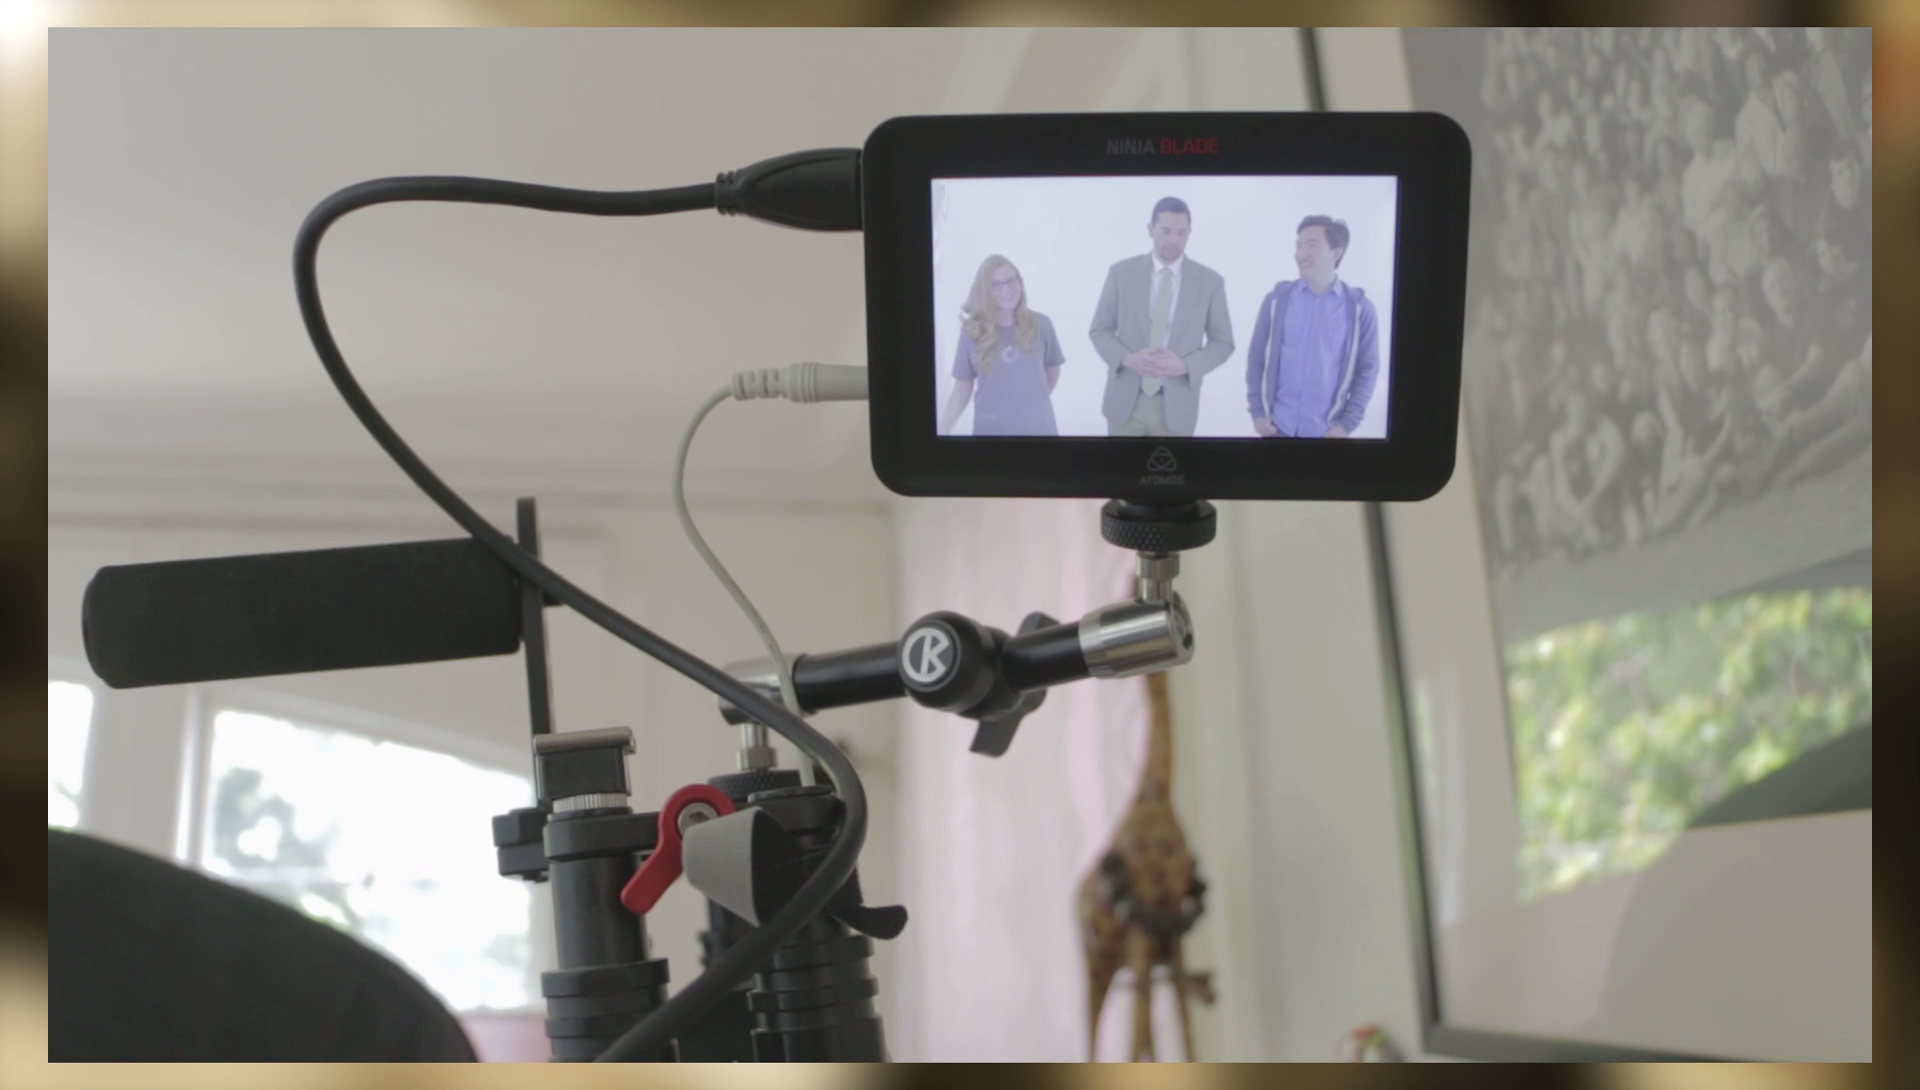
For this shoot we used our Canon 5D Mk3 and our Ninja Blade by Atomos for monitoring and recording. The 5D would be just fine, but we always choose to use the Ninja because of its higher bitrate and ability to record in ProRez 422, which gives us more flexibility in post. Also, with this set up, we have the Ninja plus the Canon recoding for backup in case one goes down for some reason.
Audio was recored with our Rode wireless mic system, a couple of lavalier mics and our Rode NTG2 shotgun boom. All audio was easily monitored by me using our Zoom H5 Handy Recorder and this neat little accessory for it which adds two additional XLR connectors for a total of four in one unit.
Post
It all comes down to the edit. First thing I do is get an assembly edit done. That’s where I pull selected takes from the circle takes of the day. By the way, while we are on set, Frank keeps a shot list and puts a circle around any of the takes that we thought were really good. Thus the name circle takes. Now, even though I usually still look at all the takes in post, I will start my seemly mostly with circle takes. So the assembly edit is just a quick sequence of good shots in the order they should be in.
The assembly then goes through revisions. Whenever I reach a milestone in editing, I duplicate that sequence and create a new revision. That way, I can refer back to old edits if I have to. Here’s a good thing for you to learn right now. Don’t get too precious about your script. If there is something that sounded awesome on paper but just falls flat in the scene, you may need to cut it. Here’s an example of this.
There is a line that we completely cut from Mac because we felt the pace lagged. The reason we did this is because the line, although informative, slowed the pacing down too much. It was basically extraneous exposition that read well on paper, but in the end had to go. Try this in one of your edits. Try taking an old edit and trim it down. If it’s 2 minutes, see if you can get it down to 1m 30s. And then 1m 20s. This exercise will help you learn to tighten up your edits which in turn may help you tighten up the next script you write.
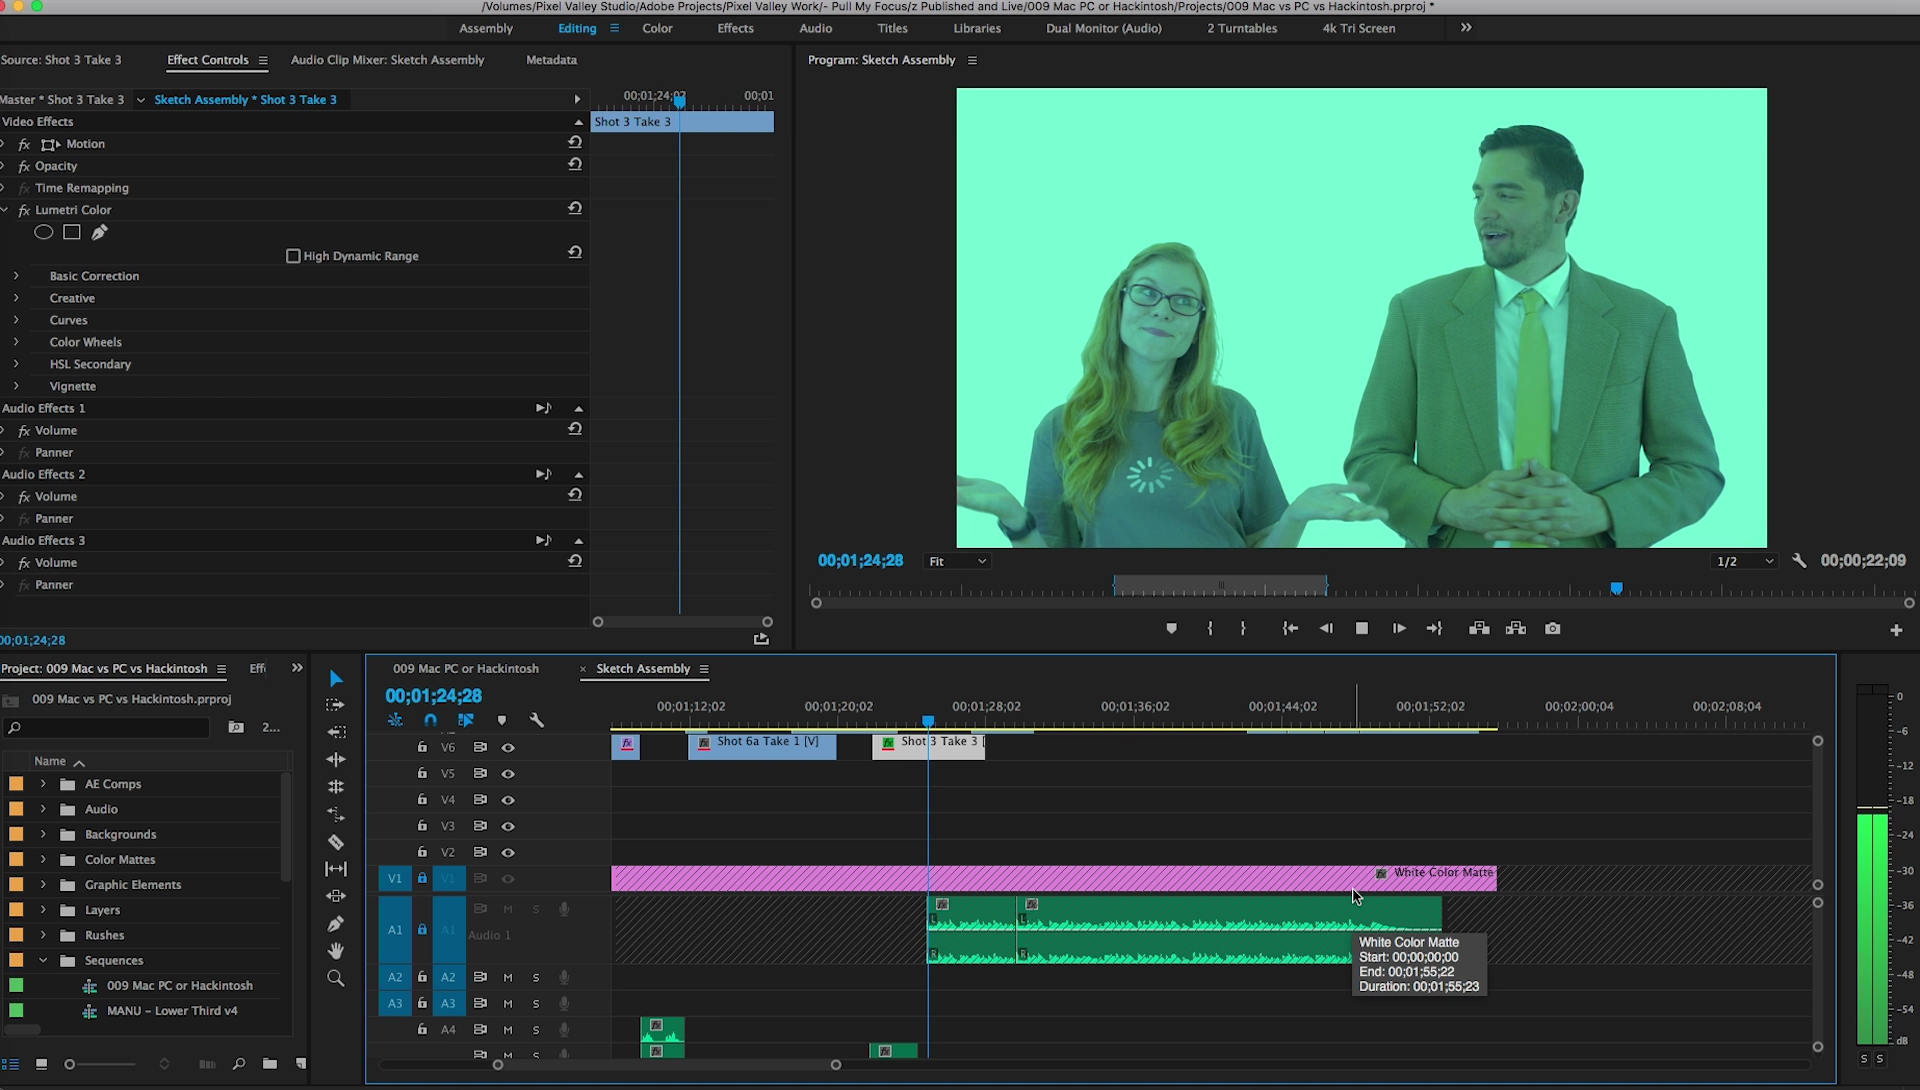
Finally, we did the usual post audio work. I pulled the files from the H5 and synched them with the video. Then I added some compression and mastering to every clip that... Ain't nobody got time for that! I separated all my audio into different tracks and added a track recipe of compression, eq, noise reduction, etc so I don’t have to put effects on EVERY track.
I also did color correction enhancements since we shoot in a flat color profile.
Conclusion
That concludes this quick behind the scenes look at our Mac vs. PC sketch. Don’t forget to check out our other articles and subscribe to the channel.
Product Links
Mac vs PC vs Hackintosh
https://youtu.be/8CZ0XTYc6Js
WriterDuet Screenwriting Software
https://writerduet.com/
White Photography Muslin
http://amzn.to/2oPKV8p
Atomos Ninja Blade 5" HDMI On-Camera Monitor & Recorder
http://amzn.to/2onjIpN
Zoom H5 Handy Recorder Kit
http://amzn.to/2puktz7
Zoom XYH-5 Shock Mounted Stereo Microphone Capsule
http://amzn.to/2punyyU
Rode RodeLink FM Wireless Filmmaker System
http://amzn.to/2prl07A
Rode NTG2 Condenser Shotgun Microphone
http://amzn.to/2oPDo9x
Premiere Pro Advanced Colour Correction Tutorial by Surfaced Studio
https://youtu.be/ZCA0MX6RtvE
Actors
PC - Mark Gonzales
http://www.markcgonzales.com
Mac - James Aaron Oh
https://youtube.com/channel/UCeQiZH7a...
Hackintosh - Courtney Shaffer
https://www.youtube.com/channel/UCBts...
http://courtneyshaffer.webs.com