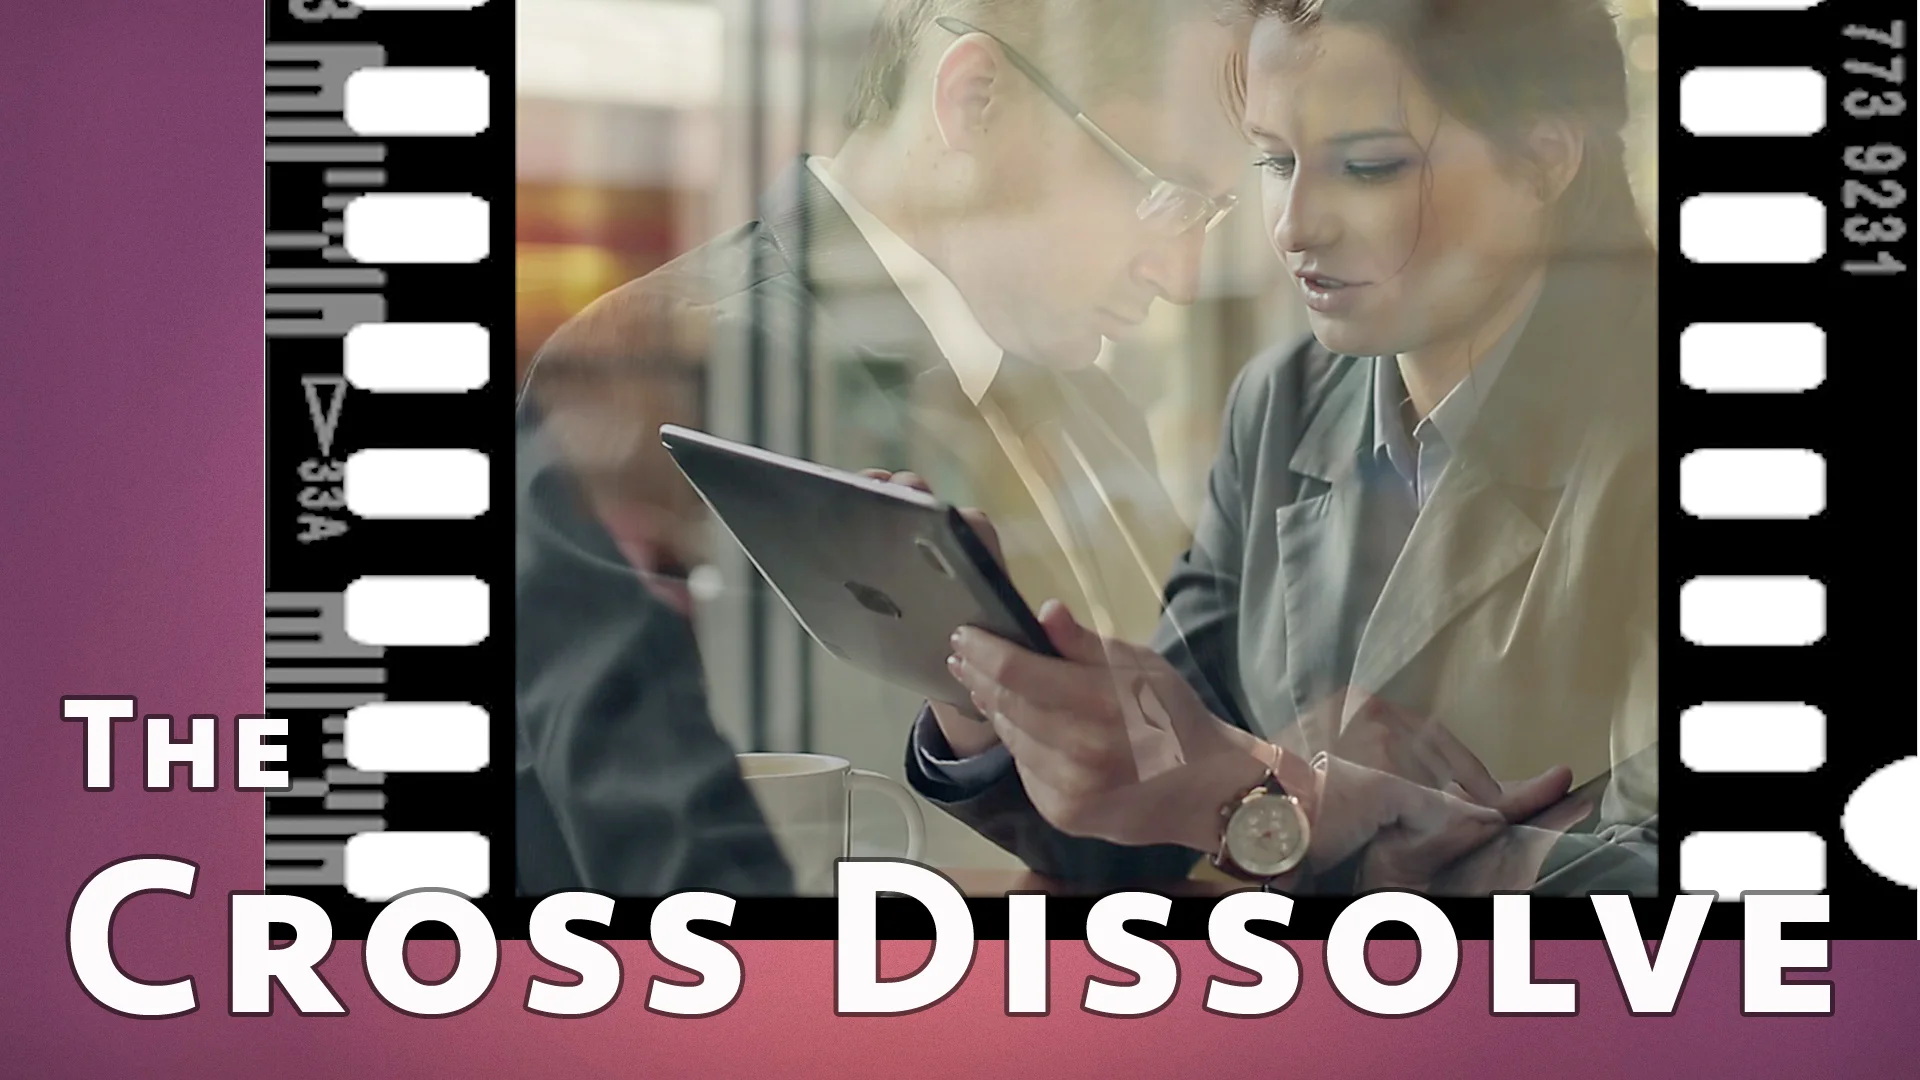
Ask any video editor what the most used transition effect in their arsenal of effects is and she'll usually say the dissolve. Besides a direct cut, the dissolve is a staple in the book of film and video editing.
To use a dissolve transition in today's editing packages, I simply go to my effects library, find dissolve and drag it over to my timeline.
But wait. How did editors perform a dissolve, or what is also called a "cross fade" before digital editing was available?
Well, back in the day, it was a pretty convoluted process.
What is a Dissolve?
Now, what exactly is a dissolve? It's a gradual transition of one image to another. In the case of film, it's gradually transitioning from one series of images to another series of images.
Conventional fades and dissolves usually run from 24 to 48 frames. However, they may be shortened or extended to whatever length pleases the director and editor. Very short dissolves, lasting about 6 to 12 frames, called ‘soft-cuts’, are used to hide breaks in action and avoid ‘jump-cuts’. For example, a soft-cut might be used in nature videos where there is a long break in action. [show example]. Alternatively, some directors used very long dissolves like in the George Stevens movie ‘A Place In The Sun’.
If I wanted to do this now, I simply click my dissolve effect and enter the number of frames I want it to take place. But to do this in the days before digital editing an editor would employ the use of a device called an Optical Printer.
One of the first optical printers
You've probably seen optical printers in action in movies like Star Wars, the original version. Industrial Light & Magic pushed optical effects to the limits and made very heavy use of optical printers. But the technology dates as far back as the 1930's.
Think of the optical printer as a film playback and recording, all-in-one machine. It is capable of playing two reels of film at once and then projecting that composite onto a negative for recording. Let’s look at how an optical printing process would handle a typical dissolve.
A very simplified illustration of the components of an optical printer.
The editor would collect the two shots to be dissolved, the outgoing scene (the one we are cutting from) and the incoming Scene ( the one we are cutting to). She would create a work sheet with the details of where the start and end frames of the effect should be and send them to the lab for the optical print.
A dissolve is made by double printing a fade-in of the incoming scene with a fade-out of the outgoing scene.
The lab tech would first load the master positive of the outgoing shot into the printer. This is then run and copied onto the negative. As it’s copied, the camera’s shutter is gradually closed the number of predetermined frames per the editor’s work sheet instructions, until it is fully closed. The first pass, which essentially is a fade-out is recorded.
The negative is then rewound to the dissolve start mark. With the shutter still fully closed, the outgoing shot is then replaced with the incoming shot. The projector is started again, this time, the shutter slowly opens, frame by frame and records a fade-in onto the same negative. Once the shutter is fully opened, the recording stops and the negative now contains the final dissolve effect.
Obviously this workflow presented its own set of challenges. The editors couldn't see what the transition looked like until all the work was done and it came back from the lab. It also ate up more film as every pass in the optical printer required fresh film. And every trip to the optical print lab cost money. There was a set charge for each effect as well as a running footage fee. Now some producers tried to save money by ordering only the exact footage of the dissolve, plus three or four frames on each side for splicing. They would direct the negative cutter to splice the negative of the effect with the original negatives of the incoming and outgoing shots. This turned out to be more trouble than it’s worth as the unavoidable differences in film grain, remember we are still talking real film, contrast and resolution between the original and dissolve effect negatives are often apparent on the screen and causes the footage to ‘pop’ in an out. So it is usually better to pay the extra footage fees and have the entire incoming and outgoing shot processed.
You can see what a huge difference the move to digital workflows made on the creation of film and video. So be thankful that the next time you want a dissolve, you can have it as simple as drag and drop.
Music & Audio
Intro Audio this week: Star Trek Transporter Sound!
Links
Visual Credits:
The Technique of Special Effects Cinematography
4th Edition
By Raymond Fielding
Focal Press
Stock Footage from Pond5
pond5.com
"Movie Magic" (TV)
http://www.imdb.com/title/tt0108865/combined
Horizon (BBC TV Series)
https://en.wikipedia.org/wiki/Horizon_(BBC_TV_series)
Movies
"Here Come The Waves" (1944)
"A Place In The Sun" (1957)
"The Empire Strikes Back" (1980)
"Blazing Saddles" (1974)
"Black Dynamite" (2009)
Audio Credits:
Jazz Drumming Background
https://betamonkey.com/
**New Episodes Every Week**
Like, Favorite and SHARE today's episode!
https://youtu.be/7doXkLEtQa0
Subscribe for more Pull My Focus!
http://www.youtube.com/subscription_center?add_user=UCiTX7y2VzHi4yyQg-_EUTuA
Pull My Focus
http://bit.ly/pullmyfocus
Facebook
https://www.facebook.com/pullmyfocus
Twitter
https://twitter.com/pullmyfocus
Manu Smith
http://twitter.com/spuds
Frank Dellario
http://twitter.com/illbixby


